Build a Mechanical Keyboard in 3 Simple Steps
For those new to custom keyboards, breaking the process into three core steps—barebone, switches, and keycaps—makes it easy to dive in. Here’s a streamlined guide to crafting your dream keyboard!
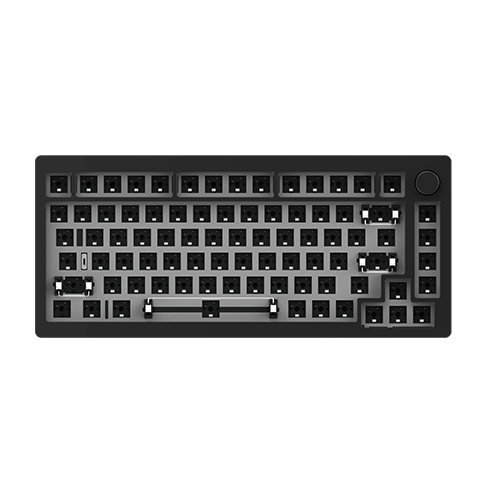
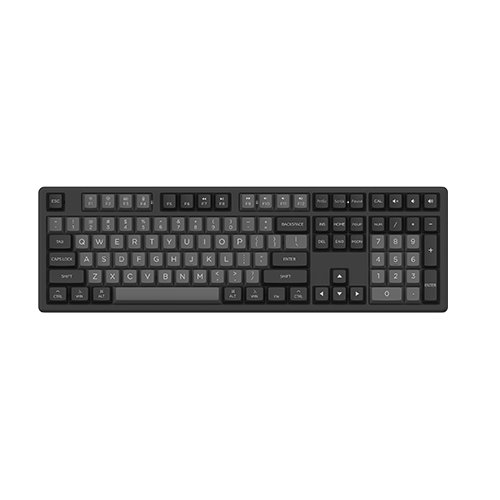
Step 1: Choose the Keyboard Barebone
A barebone kit usually includes the case, plate, PCB, and stabilizers pre-assembled, making it easy to build a keyboard with your choice of keycaps and switches.
>>>A Guide to Choosing Barebones
- Keyboard Layout: 60%, 65%, 75%, TKL, 1800 Compact, Full Size and more.
- Keyboard Structure: Gasket-mounted, Top-mounted, Tray-mounted and more.
- Case Material: ABS, Aluminum, PC, Acrylic and more.
- Stabilizers: Pre-assembled Lubed Stabilizers
- Other Factors: RGB Backlit, Foam Material and Thickness, Connectivity, and more.

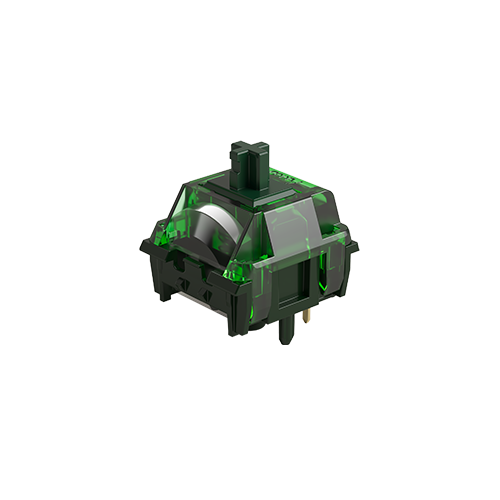
Step 2: Install Switches
Switches determine how your keyboard feels and sounds.
>>>A Guide to Choosing Switches
- Switch Type: Tactile, Linear, and Clicky.
- Switch Material: PC, PA, POM, PBT, and others.
- Lubed or Not: Lubed switches can provide smoother keystrokes.
- Structure: 3-pin, 5-pin for different compatibility.
- Other Factors: LED Diffuser, Total Travel, Operating Force, and more.

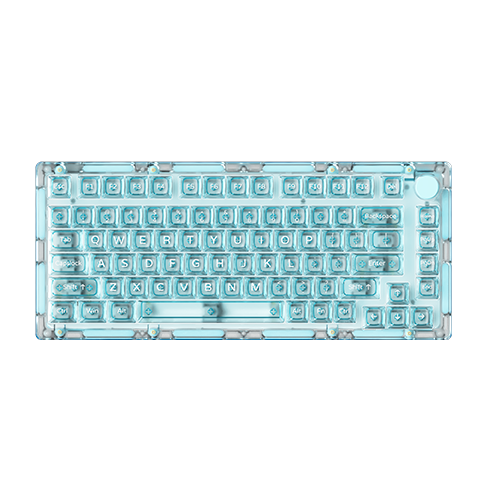
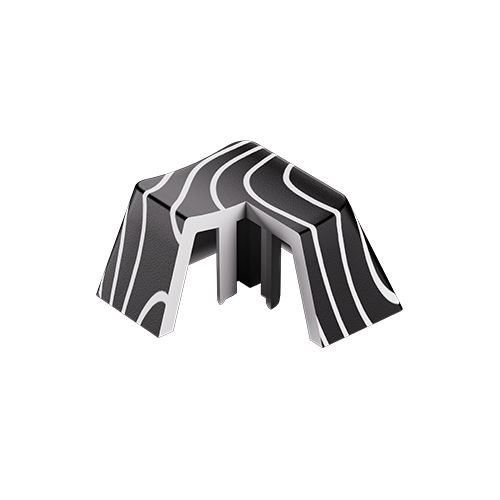
Step 3: Add Keycaps
Keycaps define your keyboard’s look and typing feel.
>>>A Guide to Choosing Keycaps
- Keycap Material: PC, ABS, PBT, Titanium Alloy, and more.
- Keycap Profile: Cherry, OEM, ASA, MOG, MDA, and others.
- Keycap Legends: English, Japanese, Korean, and more.
- Manufacturing Process: Double-shot, Dye-sublimation, UV Printed, etc.
- Keycap Layout Based on Barebone: US, ISO, and other layouts.
- Keycap Theme: Choose keycaps with different themes and characters for a personalized touch.

Done! Enjoy Your Custom Build
With just three steps, you’ve created a keyboard tailored to your preferences. Whether you’re gaming, typing, or doing work, this DIY project is as rewarding as it is functional.
Show off your build in our MonsGeek Discord! It’s the community for mechanical keyboard enthusiasts to share and get inspired by fresh creations.