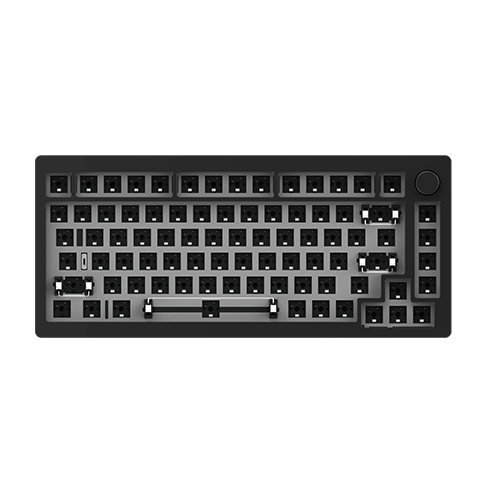
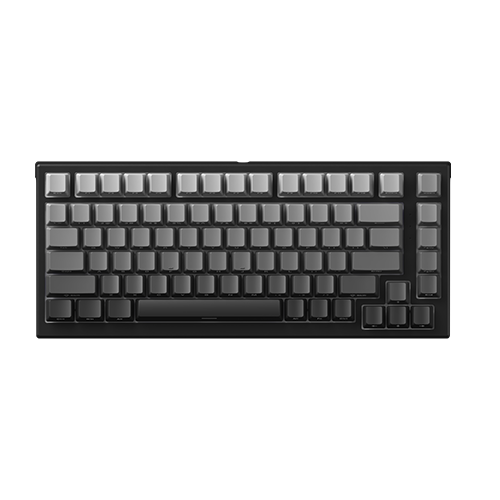
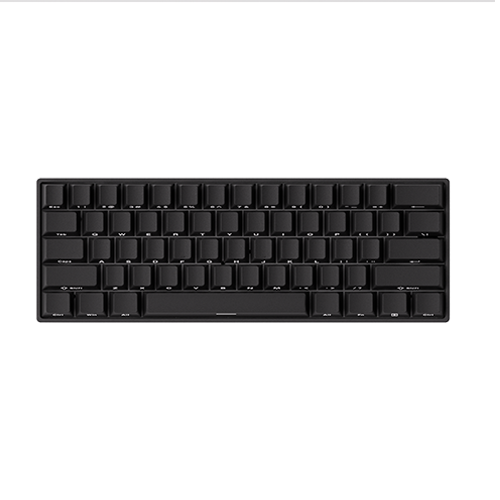
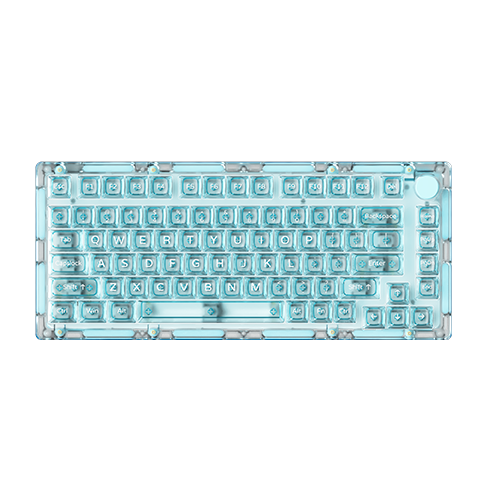
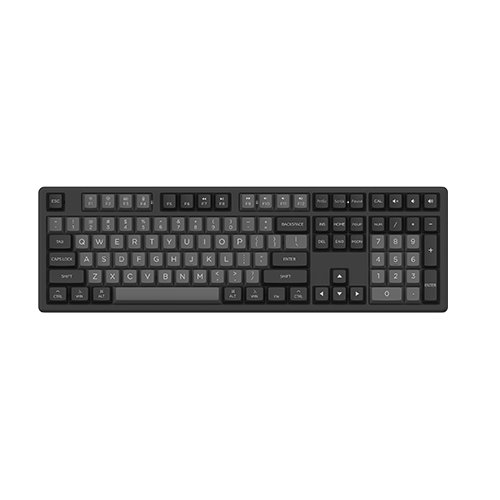
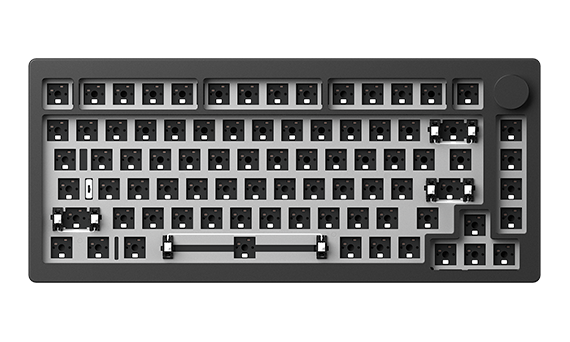
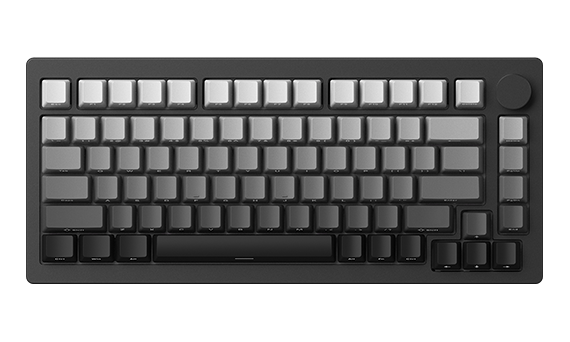
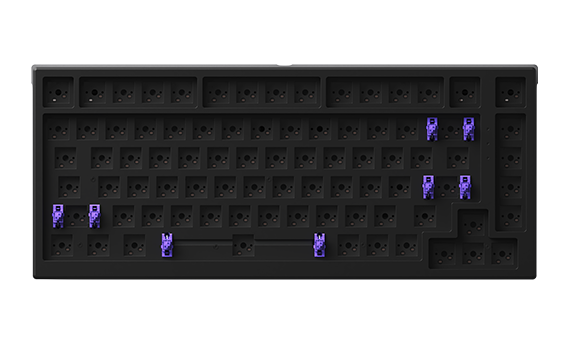
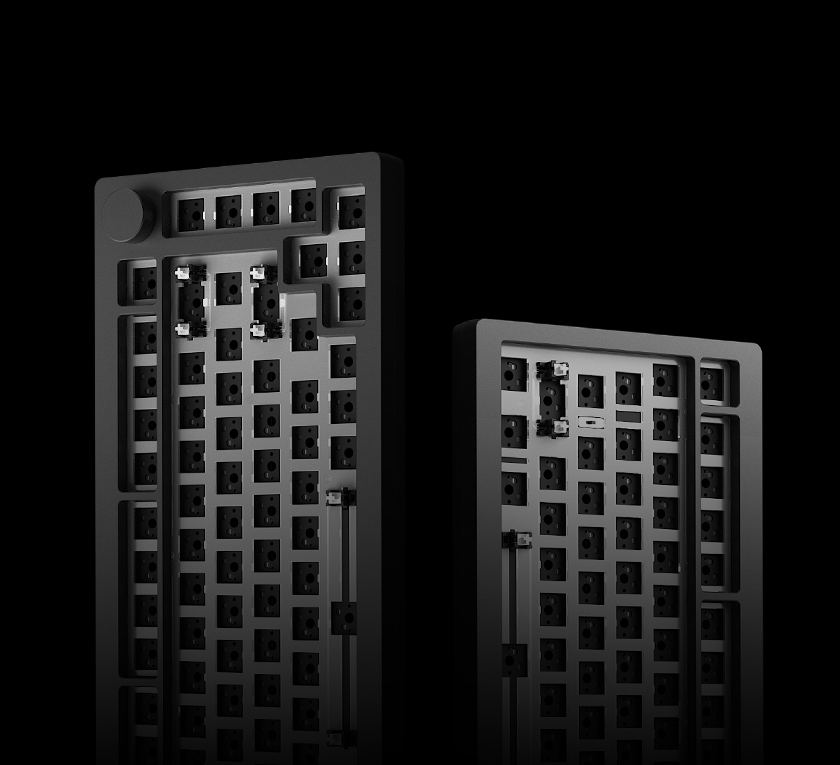
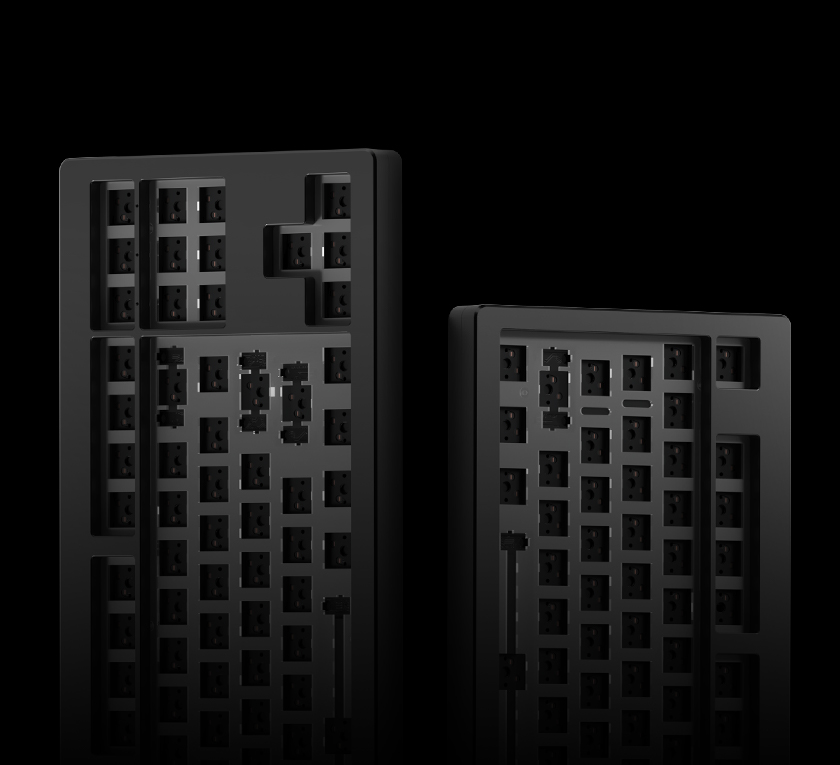
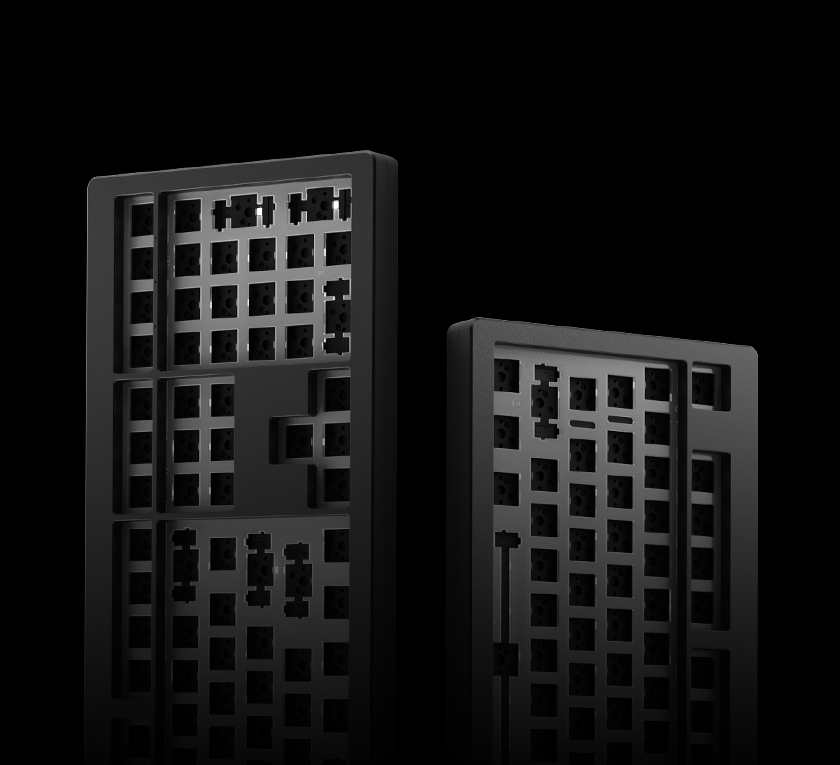
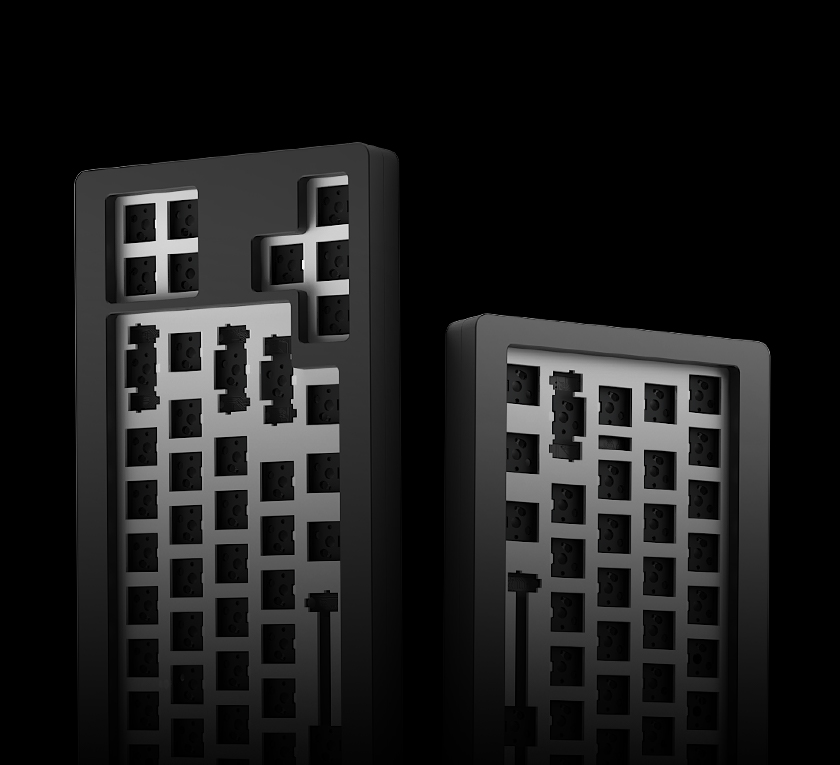
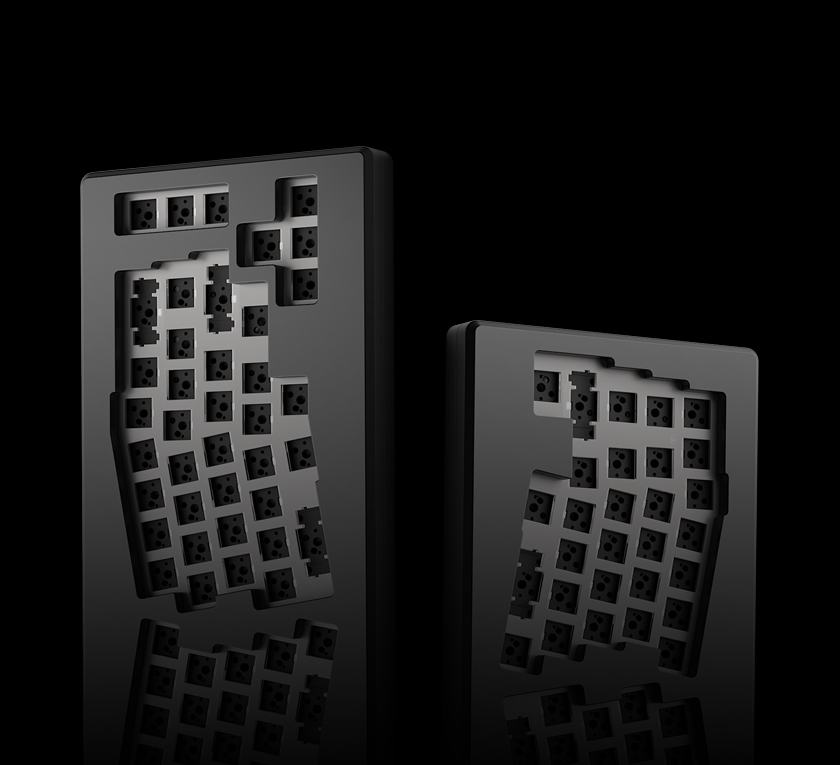
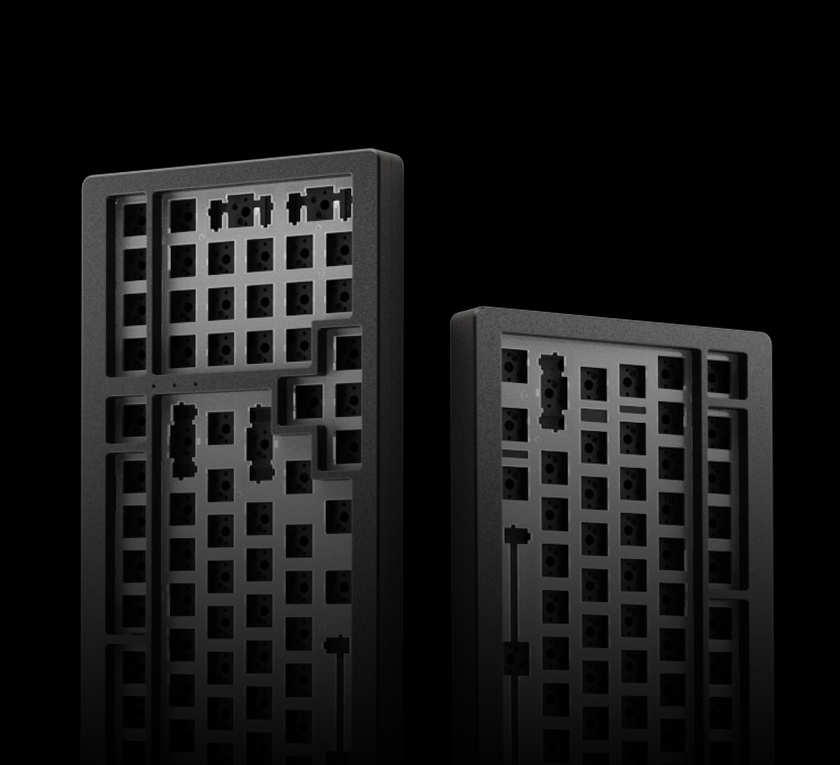
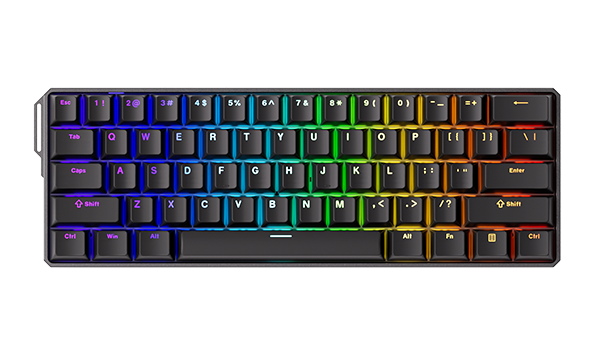
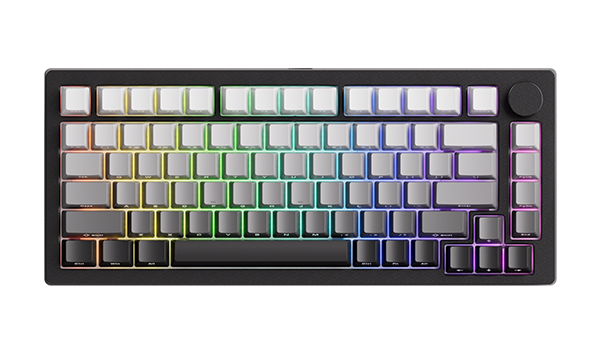
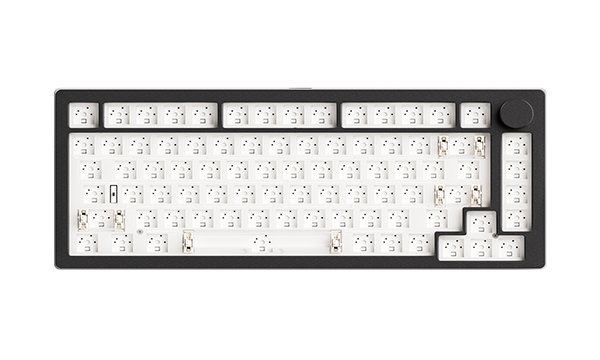
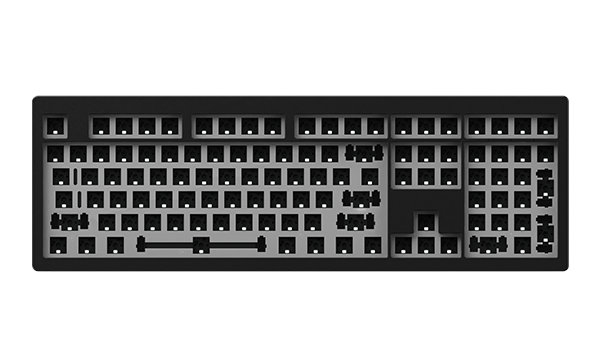
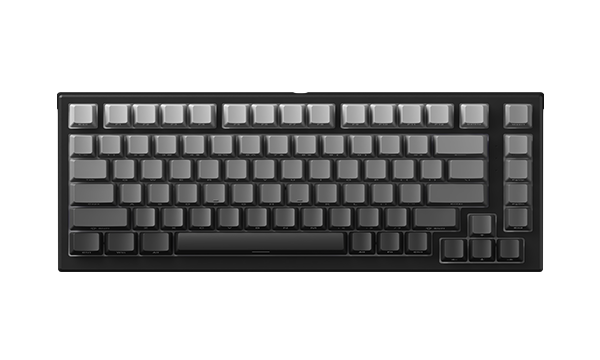
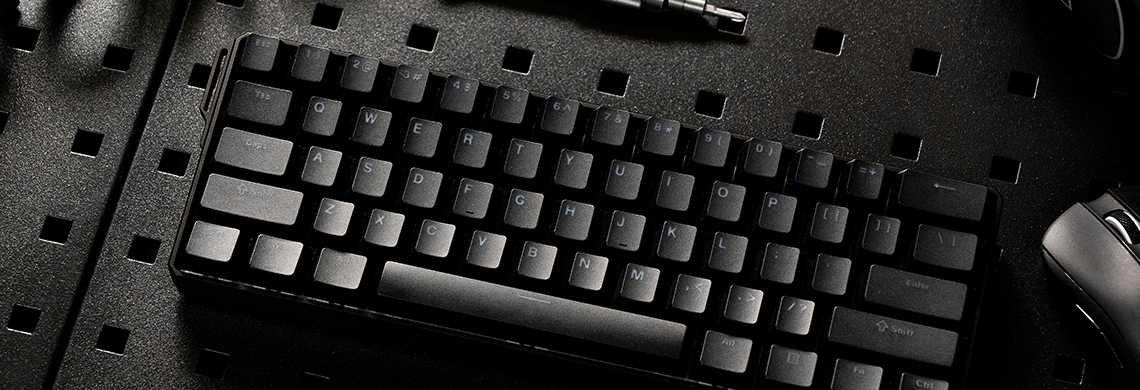
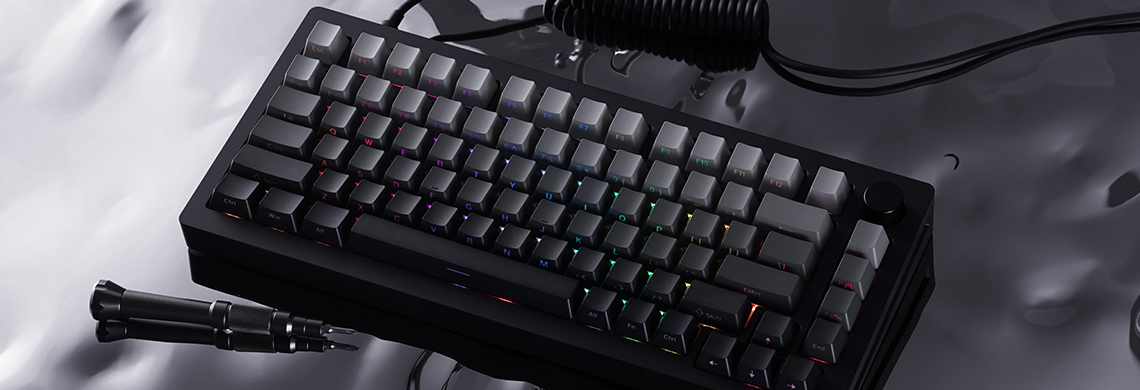
The keycap sizes of MonsGeek M2 are as below. The remaining unlabeled keycaps are 1U.

Starting at $69.99, the MonsGeek M1 v3 is designed for enthusiasts, offering accessibility across the globe with more vivid color choices and comprehensive upgrades inside and out.

Knob:

The knob has been upgraded with a new encoder and a levitating structure to prevent scratches against the case, addressing issues reported in the previous version.

Internal (for M1 V3 QMK Series):

The noise reduction system has undergone a full-fledged upgrade, including an additional PET layer attached to the top of the PCB and a thicker top Poron case foam (with socket cut-outs) integrated with another PET layer for better sound locking and noise reduction.

Simplicity:

By removing the side accent, consistent support from MonsGeek fans has allowed us to balance costs further and focus on delivering an enthusiast-level keyboard at a reasonable price.

For more information, please check here.

Make sure that your keyboard is M5W before you flash this firmware. Please follow these steps to update the firmware and potentially resolve the issue:

  1. Download Firmware: Download the new firmware from the provided link. Ensure you download all the files included in the link: Firmware Download.
  2. Run Firmware Tool: Execute the “royuan_tool.exe” file to open the firmware upgrade tool.
  3. Initiate Firmware Update: Press the “Upgrade” button on the upgrade screen to start the firmware update process.

Note: The firmware can only be updated in wired mode. Follow these steps:

  • Toggle the system switch under the Capslock key to the middle position.
  • Press Fn+U to enter wired mode.
  • Flash the firmware from the link (do not update through the Driver).
  • If the update fails, try re-plugging the keyboard and updating again. Avoid opening the MonsGeek driver and operating the keyboard during the update process.

Please keep in mind that firmware updates should be performed with caution and only when necessary. If your keyboard is working properly and recognized consistently, there may not be a need to flash the firmware.

The MX108 keyboard shares its receiver with the mouse. You can locate the 2.4G receiver at the bottom of the mouse, as shown in the image below.

TGL, or Toggle Key, transforms a key into a toggle switch. When you press this switch, you can activate one of two scenarios: either continuously hold down the key/function, or trigger the key/function multiple times at a set frequency (similar to high-frequency tapping).

To set up TGL:

  1. Select the key you wish to program.
  2. In the “Combination” and “Macro” fields on the left, define the key combinations or macros you want to activate when pressing or holding down the key.
  3. Press “confirm” to complete the setup.

You can click on the little triangle to toggle Hold and Automatic keystrokes.

Mod-Tap is a feature designed to enhance convenience for both gaming and productivity tasks. With Mod-Tap, a single keypress can trigger two functions: holding down the key for one action and pressing the key for another. It allows users to create dedicated or dual-functional keys based on their keypress behavior. This feature is particularly useful for compact keyboards, enabling efficient key combinations such as long-pressing the ESC key to output ~ or accessing the task manager with a specific key combination (Alt+Ctrl+Delete).

To set up Mod-Tap:

1. Select the key you want to set and the “Hold and Press” option box will light up.

2. In the “Combination” and “Macro” fields on the left, define the key combinations or macros you want to activate when holding down the key.

3. Click “Confirm” to apply the settings for the Hold key. This allows you to activate Task Manager directly by holding F1.

4. You can set up Tap keys in a similar manner or leave them unchanged.

5. Adjust the keypress time using the slider at the bottom to customize the time required to trigger the “hold down” key definition (default is 200ms).

Please try to flash the latest firmware: M5 QMK firmware.

You can follow the steps below:

1. Download QMK Toolbox: If prompted, proceed with the installation process and wait for it to complete.

2. Open QMK Toolbox: Launch the QMK Toolbox software on your computer. If it’s your first time using it, you may be prompted to install the necessary drivers. Follow the on-screen instructions and wait until the installation is finished.

3. Locate the firmware: Click the “Open” button in the QMK Toolbox to browse and select the appropriate .bin firmware file for your keyboard model. Ensure you have downloaded the correct firmware version for your keyboard.

4. Enter Bootloader mode: Disconnect the USB cable from your keyboard. While holding down the “ESC” key, reconnect the USB cable. You should notice the “Flash/Exit DFU” button in the QMK Toolbox turn black, indicating that you are now in Bootloader mode.

5. Flash the firmware: With your keyboard in Bootloader mode, click the “Flash” button in the QMK Toolbox to begin the firmware flashing process. Wait until you see the “OK” message indicating that the firmware update is complete.

6. Exit Bootloader mode: After the firmware has been successfully flashed, click the “Exit DFU” button in the QMK Toolbox. You can then close the QMK Toolbox software.

Try online VIA: https://via.evove.top/ or https://usevia.app/

  1. Please use the right V3 .JSON file for the M3 QMK without needing to toggle V2 definitions. Here is the link: M7 V3.json (Right-click on the link and choose the option “Save Link As” to download the file.)If you cannot find the load button, make sure you have opened the Design tab as shown above.
  2. Load V3 JSON File: Load the corresponding V3 JSON file for your QMK keyboard. Ensure that the “Use V2 definitions” option is turned off when loading the V3 JSON file. You may need to load 2-3 times to let your keyboard be detected.

MonsGeek offers four distinct stroke settings, each tailored to different preferences and applications:

Comfort Mode: This mode closely mirrors traditional mechanical switches, featuring a 2mm actuation point and a 2mm reset point. It’s ideal for standard typing and work tasks.

Sensitive Mode: In this mode, the actuation point is reduced to 0.5mm while the reset point remains at 2mm. It’s designed for users who require fast key triggers and responses.

Game Mode: Game Mode unleashes the power of Rapid Trigger (RT). Here, the fixed actuation and reset points are eliminated, allowing switches to respond instantly to even the slightest pressure changes. It’s perfect for gamers seeking utmost responsiveness.

Customize Mode: In Customize Mode, you can modify the behavior of any key to suit your preferences. This mode offers a high degree of personalization, allowing you to tailor the keyboard to your specific needs and workflow.

To adjust the actuation and reset points:

Use the left slider to adjust the actuation point (Press) and the right slider to adjust the reset point (Up).

Enable “All keys” to apply your settings to all keys, or select specific keys for individual adjustments.


Due to environmental factors and potential interference, there might be instances of input interruption when keys are fully bottomed out. To address this, we’ve introduced a dead zone setting, which designates a range at the bottom of each key that will not be triggered, ensuring functionality upon release.

Turn on “Non-stop Rapid Trigger” to activate the RT function (in this mode, the reset point is replaced by the release distance and cannot be adjusted).

With RT enabled, switches respond to even slight pressure changes within the actuation range. You can set the press distance to trigger the key and the release distance to reset it in the additional menu that appears after RT activation.

Note: While a 0.1mm option is available, to prevent accidental triggers or loss of contact due to slight movements, it’s advisable to set press/release distances no lower than 0.3mm as shown in the illustration above. If you experience frequent loss of contact, increase the release distance. If you encounter accidental triggers, increase the press distance.

In conclusion, unless you have specific requirements, Game Mode should suffice for most gaming scenarios, while Comfort Mode is highly recommended for office work and typing tasks.

75% MonsGeek HE keyboards come with 2 normal layers and 2 Fn layers. You can adjust these layers using either the MonsGeek Driver or through hotkeys.

1. Use Fn+F9/F10 to switch to normal layer 1/2 respectively. Hold Fn and press right Alt to switch below Fn layer 1 and Fn layer 2.

2. Alternatively, you can directly modify the normal layers in the Driver Main-Remap Page, and adjust the Fn layers in the Fnsetting Page.

Select your currency
Join Waitlist We will inform you when the product arrives in stock. Please leave your valid email address below.