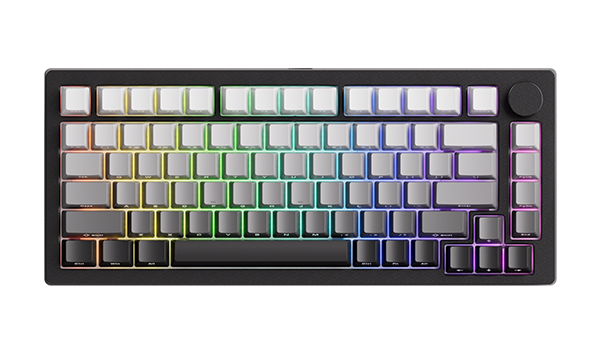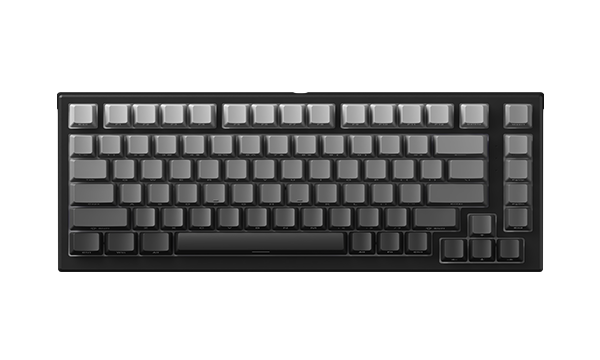

M1 75%
Check More

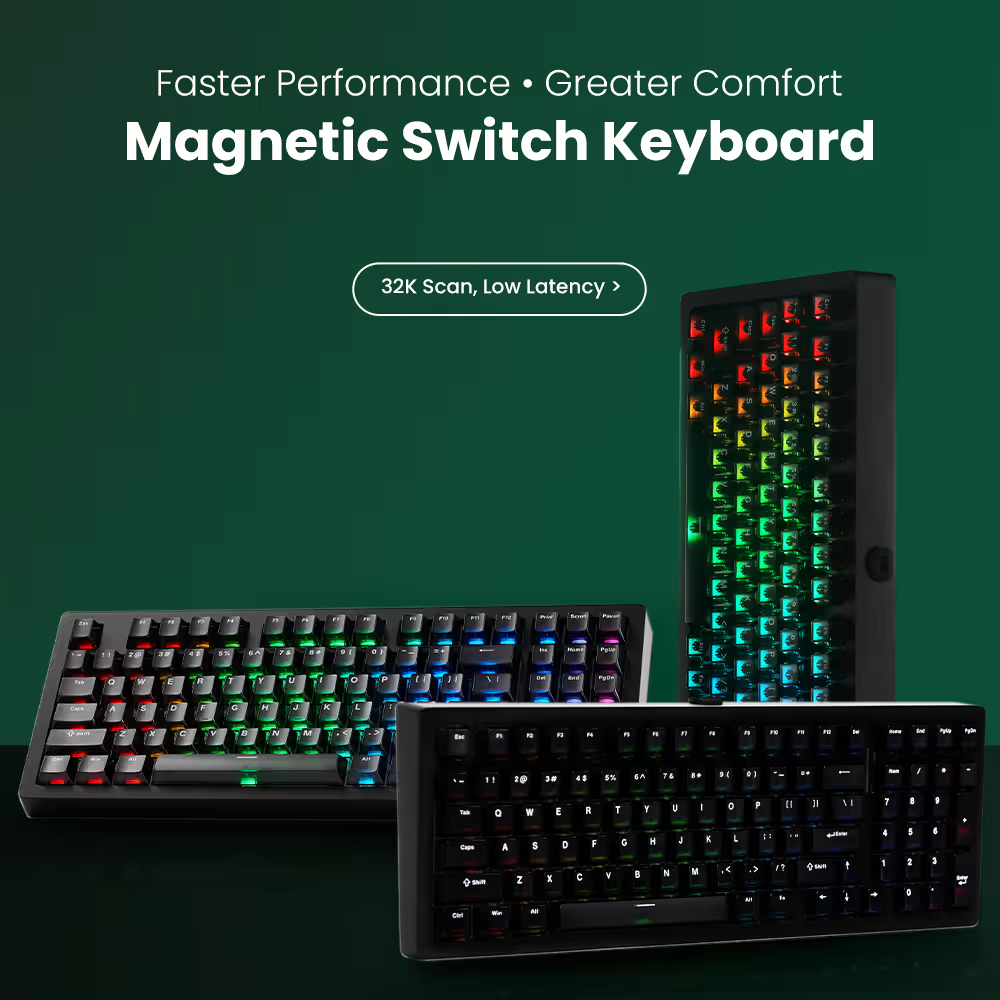
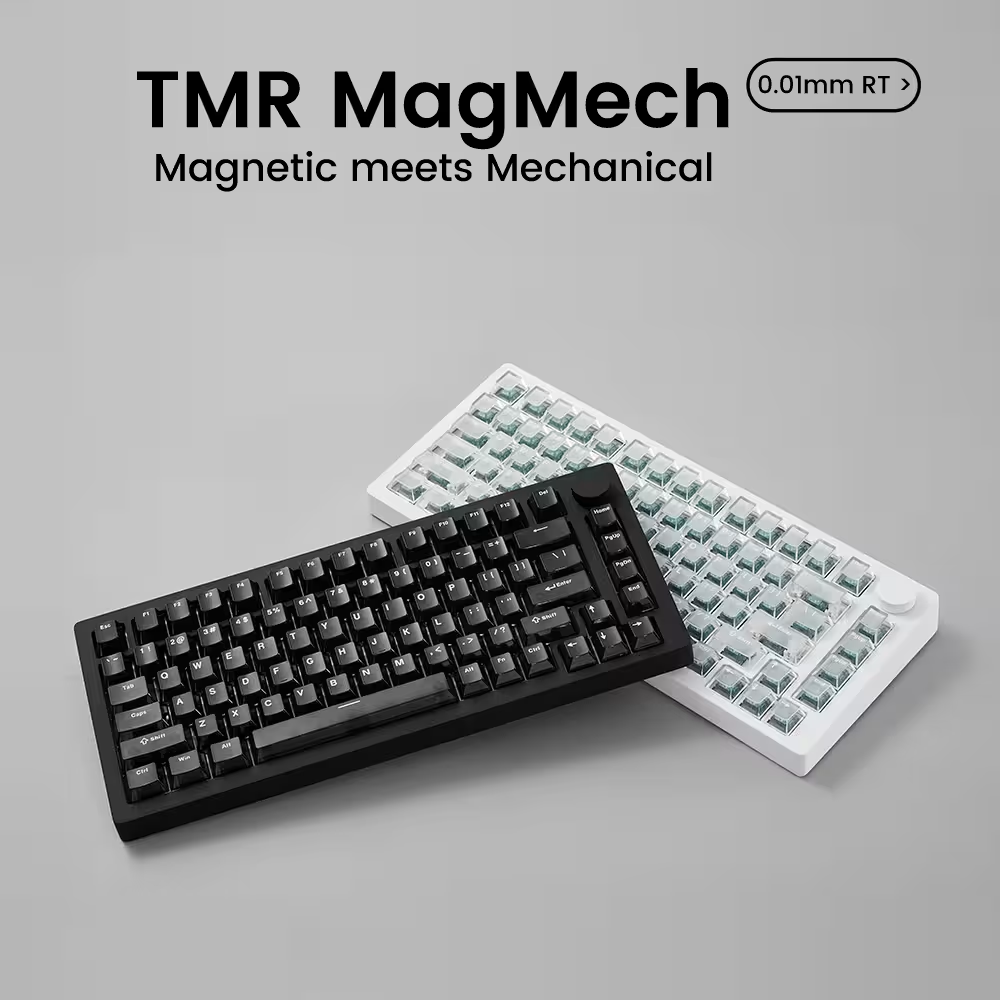
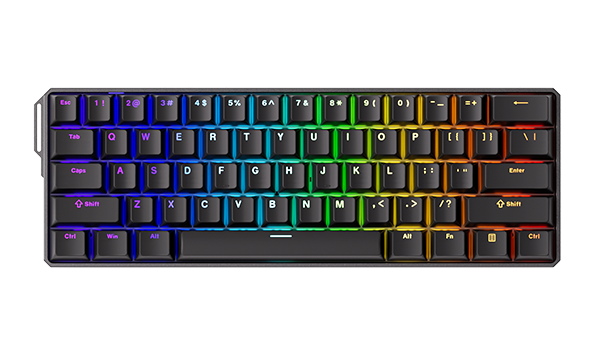
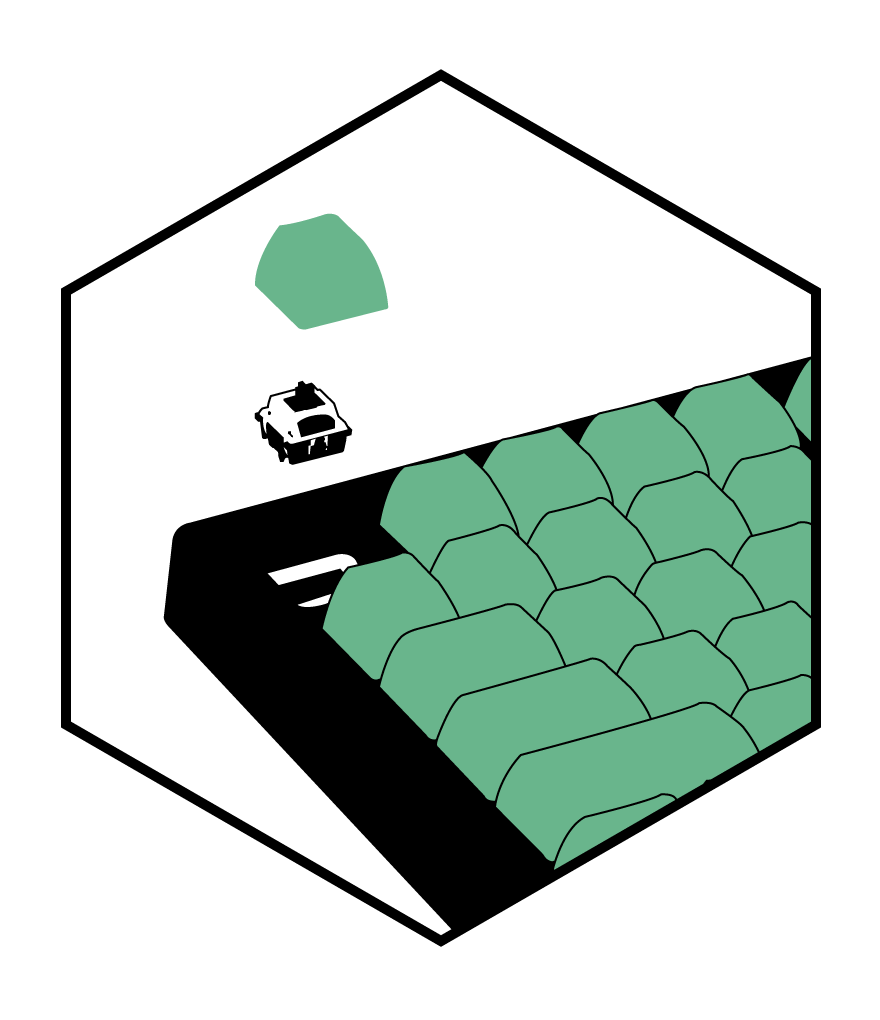
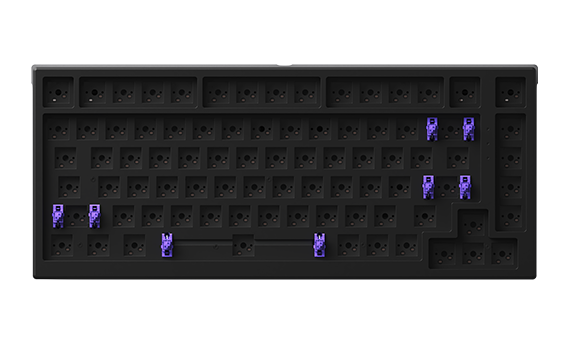
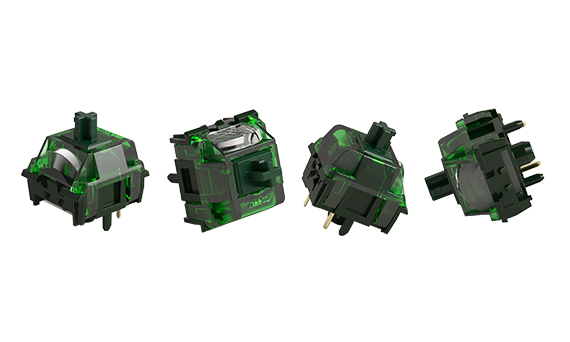
Magnetic Switch Keyboard with 0.01mm precision for rapid triggers and custom actuation. Plus, the Ultra TMR version allows users to switch to mechanical switches for an enhanced typing experience.
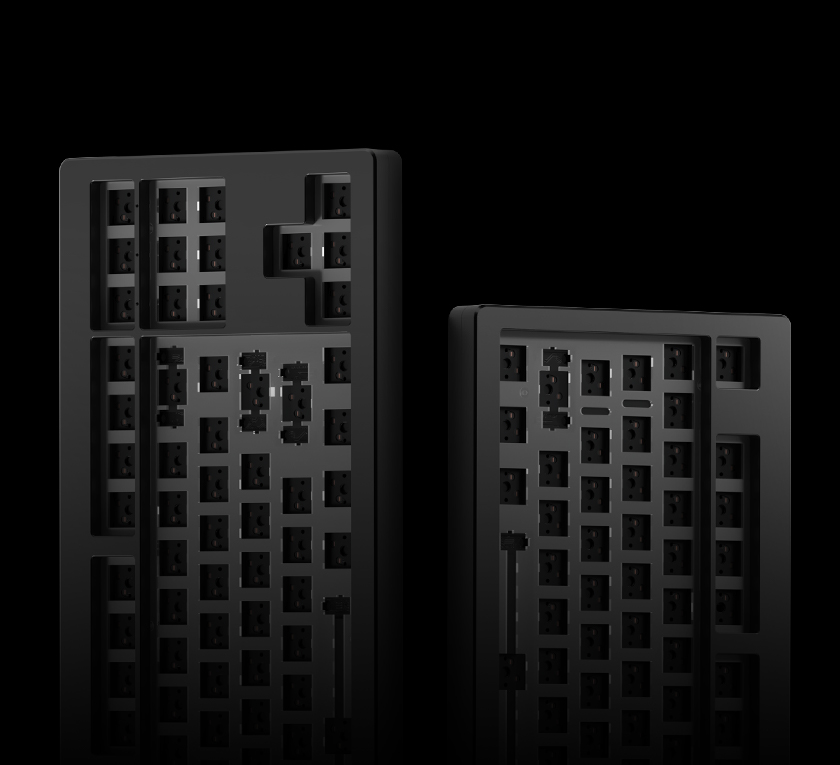
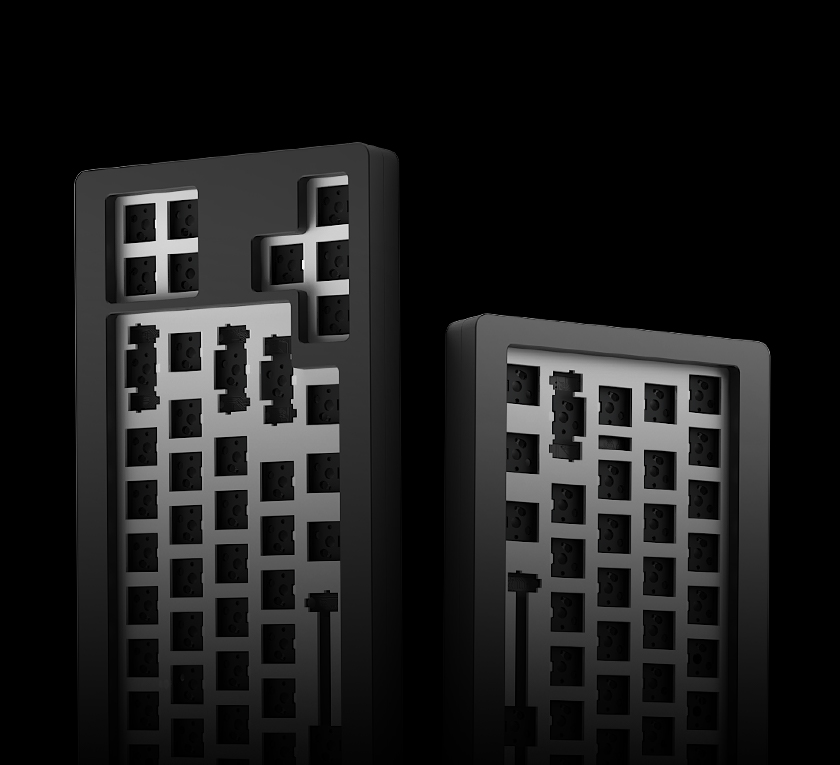
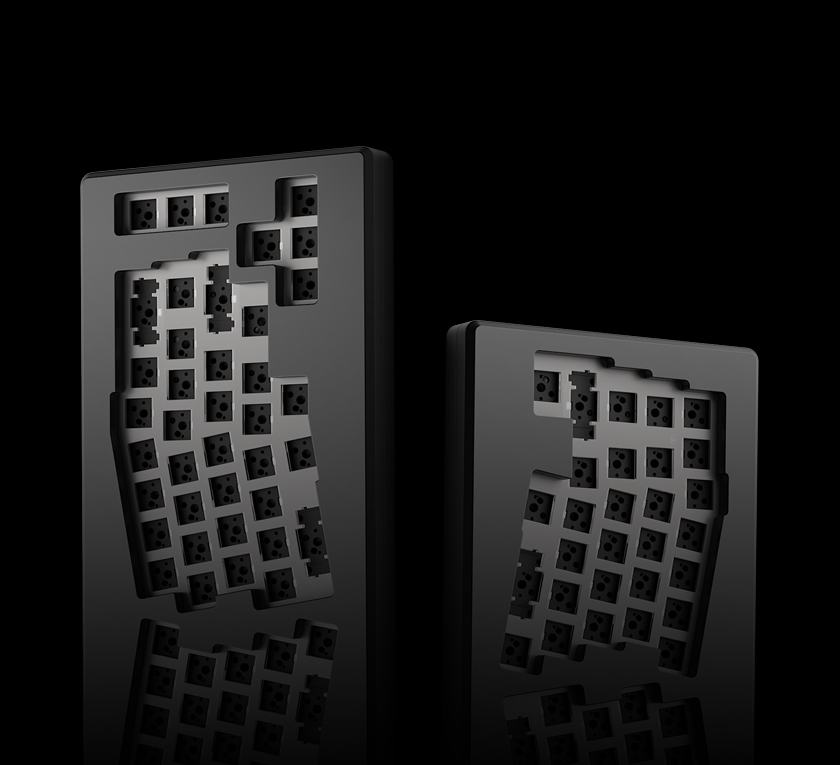
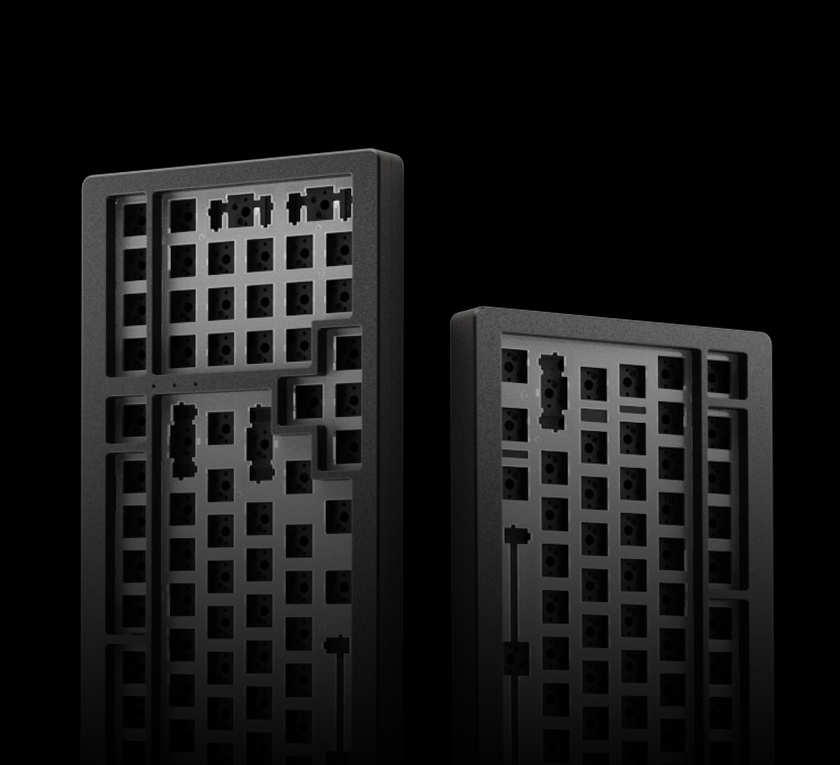
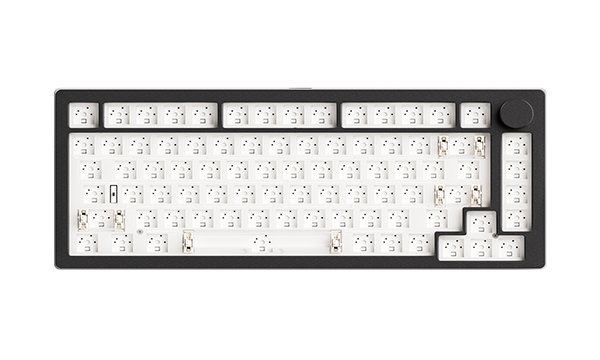
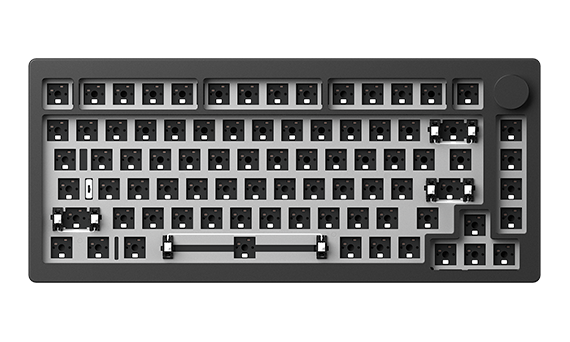
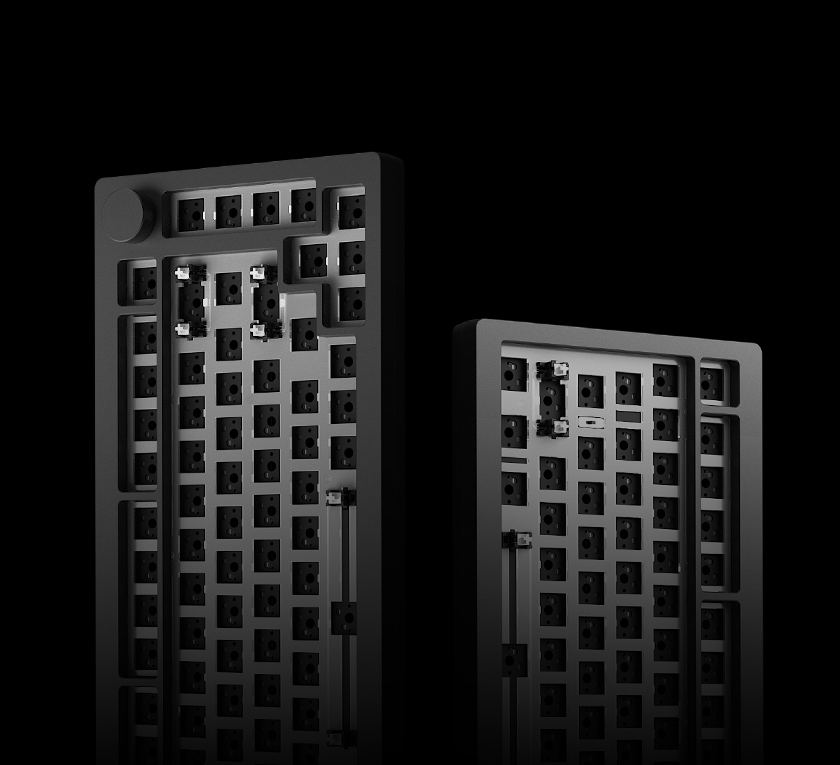
75% aluminum keyboards and barebones with with a quick-disassembly design, 5-pin hotswappable switches, and customizable RGB lighting. Perfect for beginners, offering an easy and hassle-free setup.
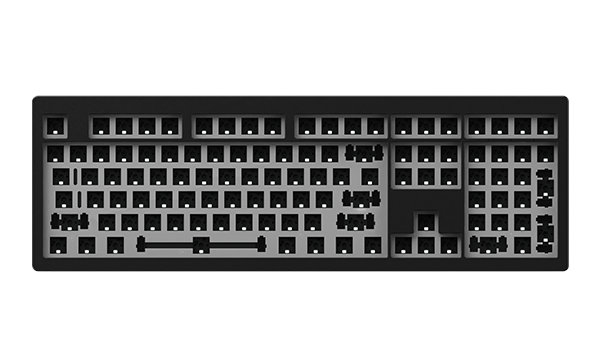
Customize your keyboard with the aluminum base kit, available in various layouts.
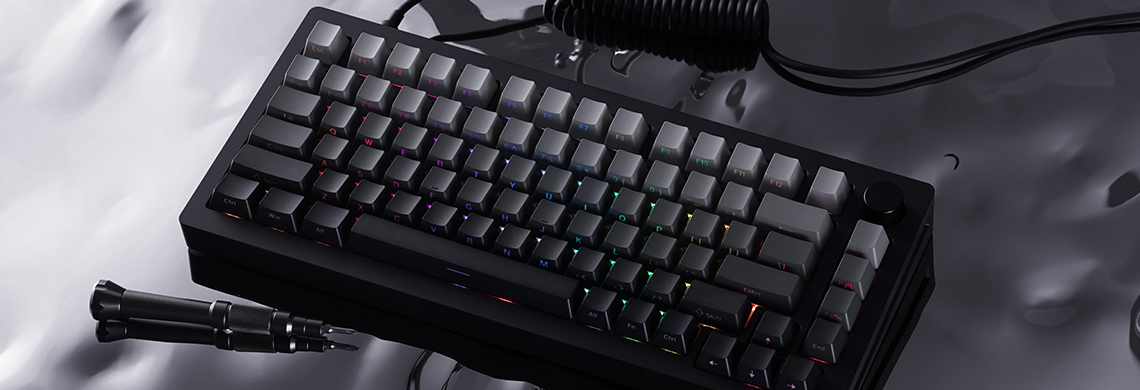
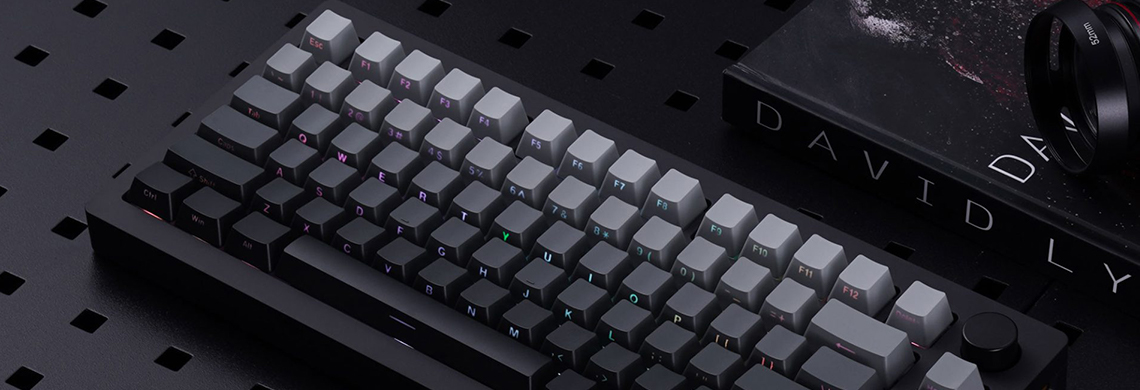
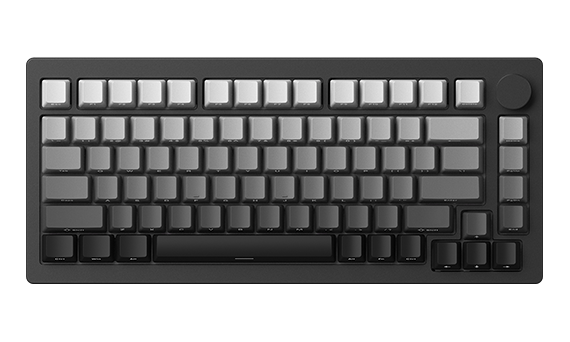
Always wanted a budget aluminum keyboard?
Take a look at MonsGeek M Series with different layout choices.
Welcome to the rabbithole!
We are here to help
Sign up for our newsletter to receive updates on new arrivals, exclusive promotions like Black Friday flash sales, and social media giveaways!
MonsGeek affiliate program collaborates with top influencer and turns your influences into income with every sale with your unique promo code.