Understanding QMK/VIA Keyboards: Features, Benefits, and Usage Guide
📅Apr. 13 2025
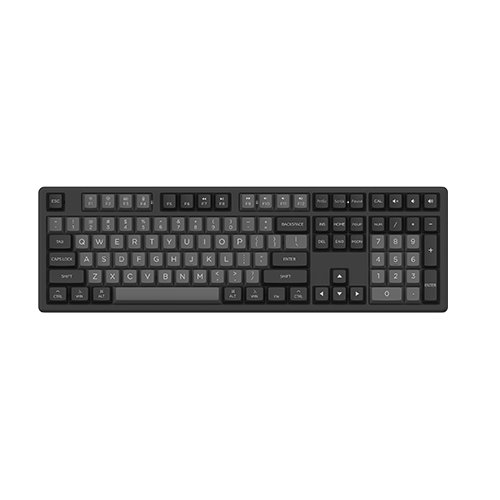
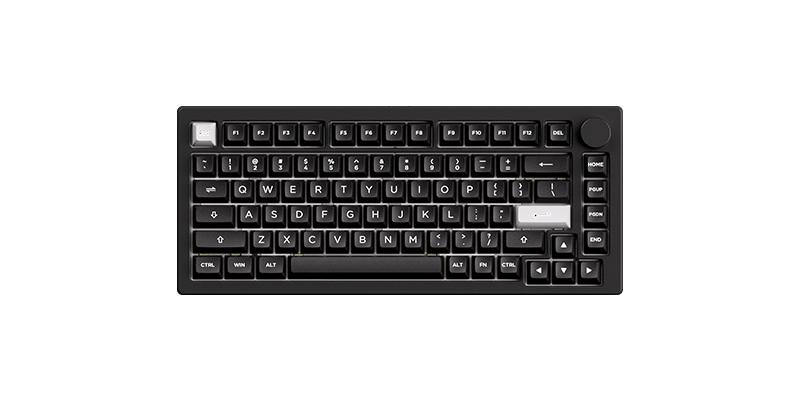
A QMK/VIA keyboard is a highly customizable mechanical keyboard powered by QMK (Quantum Mechanical Keyboard) firmware, with VIA serving as a user-friendly interface for easy key remapping. These keyboards provide advanced programmability, enabling users to modify key functions, macros, and lighting effects effortlessly.
QMK (Quantum Mechanical Keyboard) is an open-source firmware offering extensive control over a keyboard’s functionality, while VIA simplifies the customization process through a graphical user interface (GUI), allowing real-time key remapping without reflashing the firmware.
Key Benefits of QMK and VIA Keyboards
Benefits of QMK
1. Full Keyboard Customization:
Modify key functions, macros, and shortcuts at the firmware level for ultimate control.
2. Layer and Macro Support
Create multiple layers and automate actions using advanced macros for efficiency.
3. Open-Source and Community-Driven
Regular updates and improvements from the open-source community ensure a robust feature set.
4. Advanced Firmware-Level Customization
Enable tap-dance functions, dual-role keys, and custom behaviors for a truly unique experience.
5. Per-Key RGB and Lighting Effects
Customize lighting patterns at the firmware level for enhanced aesthetics and functionality.
Benefits of VIA
1. Real-Time Key Remapping
Modify key functions instantly without needing to reflash the firmware.
2. No Additional Software Installation Required
VIA works via a web browser or standalone application, making customization straightforward.
3. User-Friendly Interface
Drag-and-drop functionality makes key remapping easy for users of all experience levels.
4. Onboard Memory for Keymaps
Save custom layouts directly to the keyboard, allowing settings to persist across different devices.
5. Simplified RGB Customization
Adjust per-key RGB settings quickly within the VIA software.
How to Remap Keys with QMK (Step-by-Step):
Before proceeding, make sure that your keyboard is QMK-compatible and that it has successfully completed the QMK process.
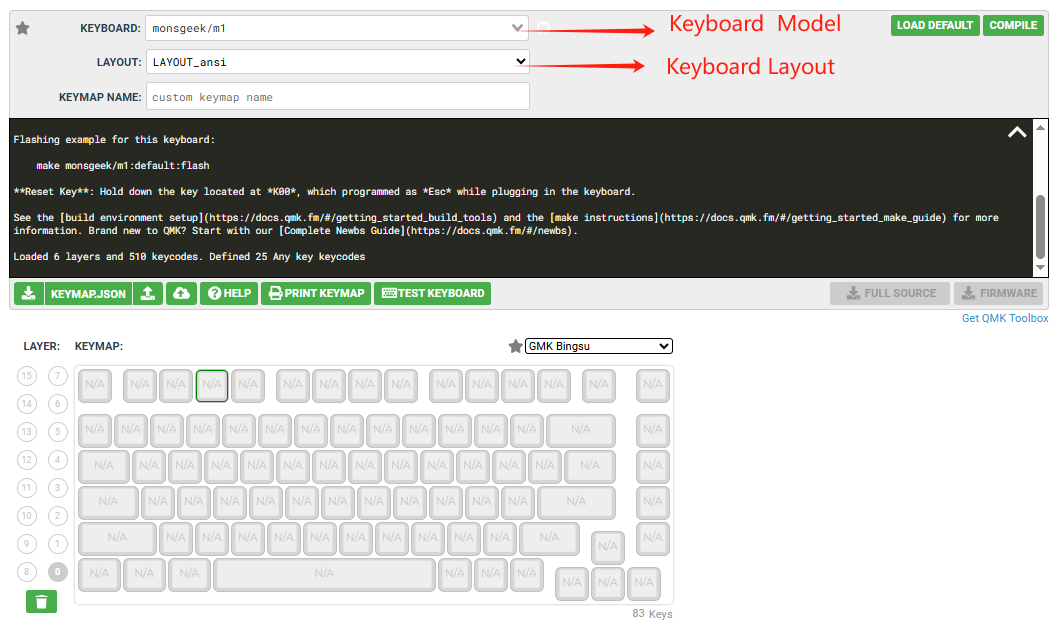
- Download QMK Toolbox & QMK Configurator: Install QMK Toolbox and visit the QMK Configurator to begin remapping.
- Connect Your Keyboard: Ensure your keyboard is plugged into your computer.
- Load Your Keyboard Firmware: Select your keyboard model in the QMK Configurator.
- Customize Key Mapping: Click on the key you want to remap and assign a new function from the available keycodes.
- Compile and Download Firmware: Once satisfied with your layout, compile the firmware and download the .bin or .hex file.
- Flash the Firmware: Open QMK Toolbox, load the firmware file, and flash it to your keyboard.
- Test Your Remaps: After flashing, test your keyboard to ensure the new key mappings work as expected.
How to Remap Keys with VIA (Step-by-Step):
Here’s a simplified guide to remapping keys using VIA. Remember to ensure your keyboard is VIA-compatible and that you have the correct VIA software installed and running on your computer.
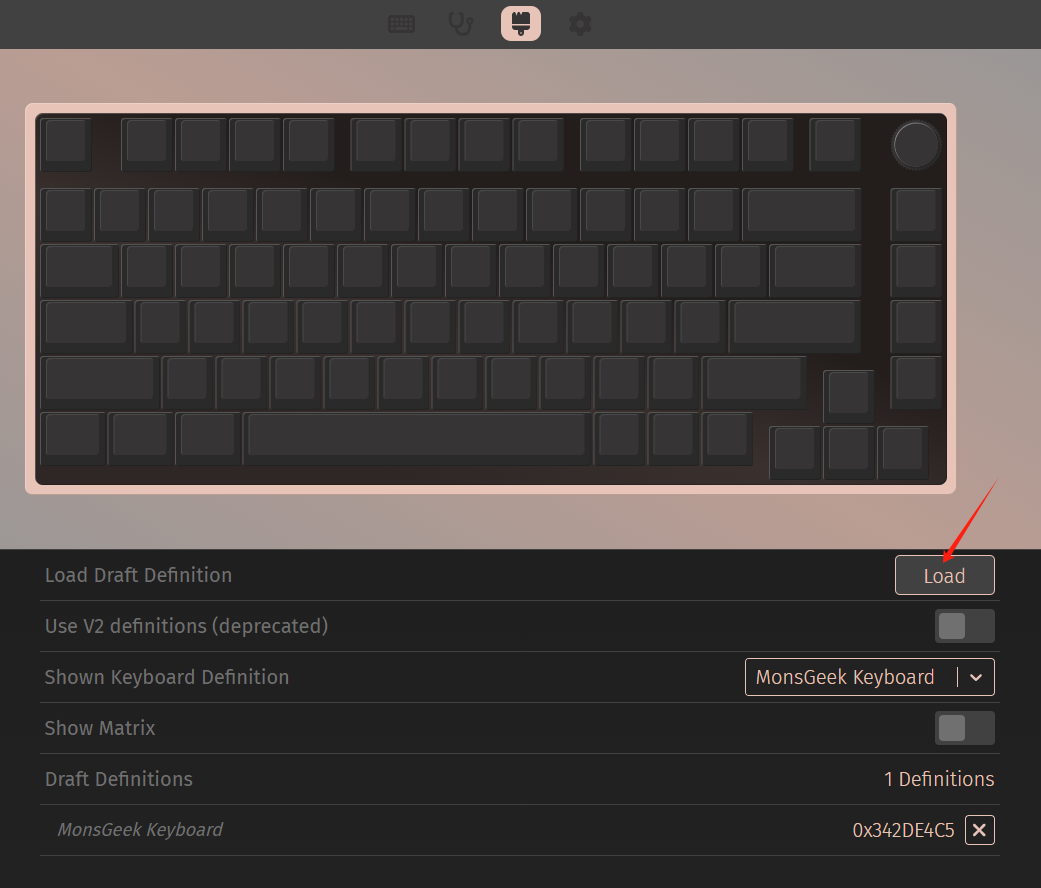
- Install VIA or VIA Web-Driver: You can find the latest version of VIA on the VIA website. Download the correct version for your operating system or use the web-based VIA driver.
- Connect Your Keyboard: Plug your QMK/VIA keyboard into your computer.
- Open VIA: Launch the VIA software. If your keyboard is supported, VIA should automatically detect it. (Please upload the JSON file of the keyboard if it’s your first time using VIA)
- Select the Layer: VIA allows you to create and switch between different layers. Choose the layer you want to modify. Layer 0 is typically the default layer.
- Remap Keys: Click on the key you want to remap.
- Choose Your New Keycode: Select the keycode you want to assign to the selected key. You can find common keycodes like KC_A (A), KC_CTRL (Control), KC_ESC (Escape), and more. VIA often provides helpful visual representations of the keyboard layout to assist you.
- Repeat as Needed: Repeat steps 5 and 6 to remap other keys on the selected layer.
- Testing and Adjusting: Your changes are applied in real-time. Test the remapped keys and adjust as needed.
Beyond Basic Remapping: Exploring Macros and Layers
VIA allows you to delve much deeper than basic remapping. You can create:
- Macros: Assign a sequence of key presses to a single key. This is great for automating repetitive tasks like typing your email address or running a specific command. In VIA, navigate to the “Macros” tab and define your macro by recording the key presses. Then, you can assign that macro to a key.
- Layers: Create multiple layers of keymaps and switch between them using dedicated layer keys (like MO(1) for “Momentary Layer 1” or TG(1) for “Toggle Layer 1”). This allows you to have different key layouts for different purposes, such as gaming, coding, or general typing. You’ll need to assign layer keys on your base layer to access these additional layers.
QMK and VIA offer unparalleled control over your keyboard’s functionality, empowering you to create a truly personalized typing experience. While QMK requires a bit more technical knowledge to get started with directly, VIA provides a user-friendly interface to unlock the power of QMK on compatible keyboards. So, if you’re looking to take your keyboard game to the next level, dive into the world of QMK and VIA and experience the freedom of complete customization!

