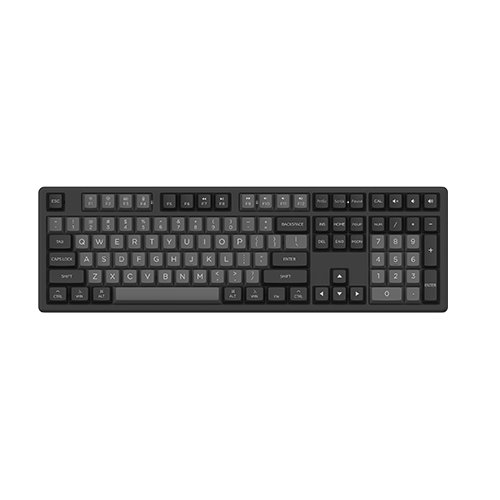
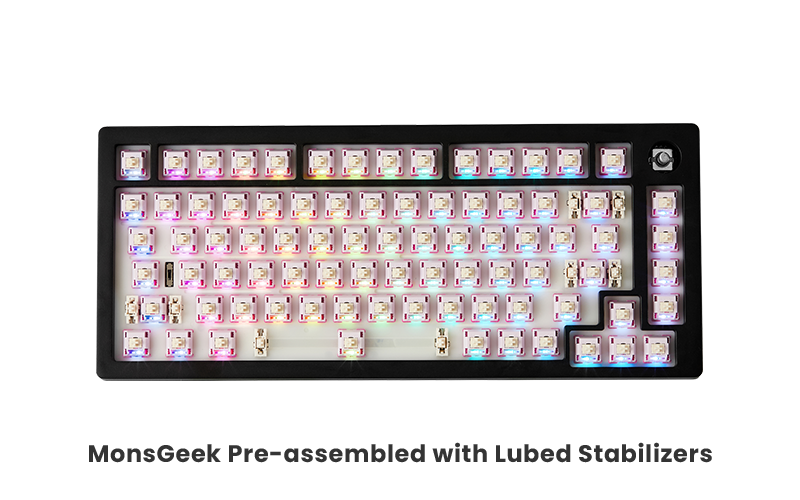
The Hidden Key to Better Typing: A Guide to Mechanical Keyboard Stabilizers
📅Mar 14 2025
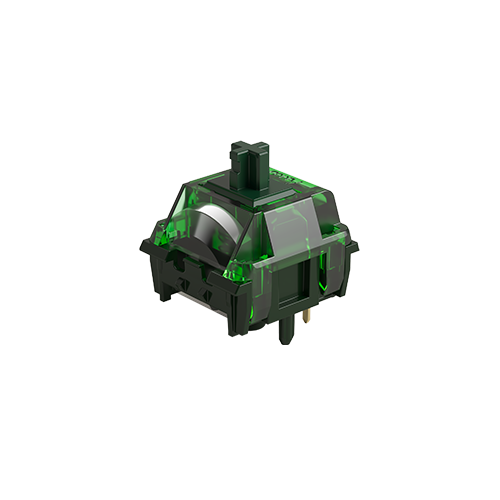
Ever noticed how some keys on your Mechanical Keyboard, like the spacebar, shift, or enter, feel a bit… wobbly? They might rattle, feel inconsistent, or even make annoying clicking noises. That’s where keyboard stabilizers come in. They’re the unsung heroes of a smooth typing experience, and if you’re diving into the world of mechanical keyboards, understanding them is crucial.
What are Mechanical Keyboard Stabilizers?
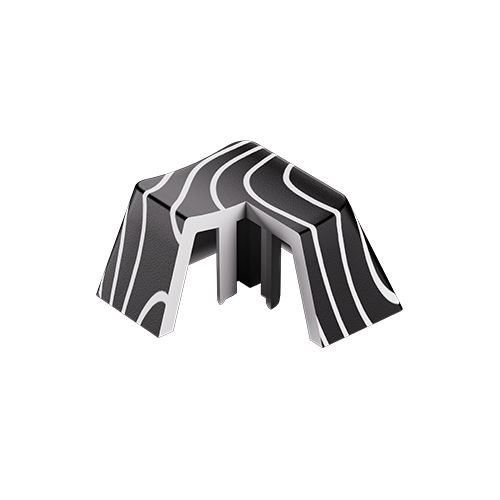
Simply put, stabilizers are small plastic or metal mechanisms that support larger keys, preventing them from tilting or wobbling when pressed. They work by distributing the keystroke force evenly across the keycap, ensuring a consistent and stable feel regardless of where you press.

Why are Stabilizers Important for Mechanical Keyboards?
- Consistency: Stabilizers ensure that your larger keys feel just as solid and consistent as your smaller alphanumeric keys. No more uneven presses or rattling.
- Smoothness: They reduce friction and prevent the keycap from binding, resulting in a smoother and more satisfying keystroke.
- Sound Dampening: Well-lubricated stabilizers can significantly reduce unwanted noise, such as rattling and clicking. This is especially important for those seeking a quieter typing experience.
- Longevity: By preventing excessive stress on the switch and keycap, stabilizers can extend the lifespan of your keyboard.

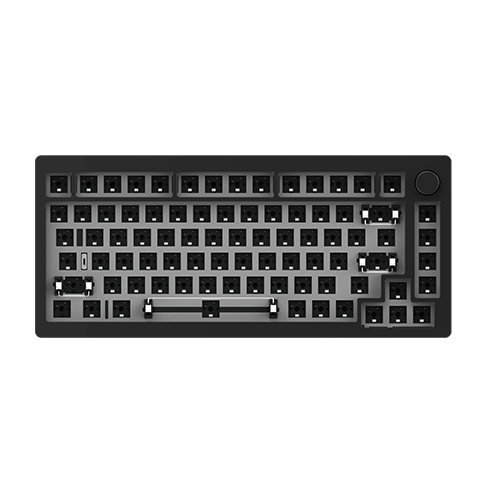
Types of Keyboard Stabilizers and Compatibility
There are a few types of stabilizers found in mechanical keyboards, and their compatibility depends on your keyboard’s PCB (Printed Circuit Board) and plate:
- Cherry-style stabilizers (Plate-mounted):
1) These are the most common type for prebuilt keyboards, known for their compatibility with most standard plate cutouts.
2) They snap into the keyboard’s plate.
3) They are less stable than screw in stabilizers.
4) Compatibility: Designed to be inserted into plates that have the correct cutouts for plate-mounted stabilizers.


- PCB mount Screw-in Stabilizers (PCB-mounted)
1) These are considered by many to be the premium option.
2) They screw directly into the PCB of the keyboard, creating a very stable platform.
3) These are less likely to pop out, and are often considered to have the best feel.
4) Compatibility: Requires a PCB with screw-in stabilizer mounting holes. Plates will also need to have clearance for these types of stabilizers. It is very important to check that your PCB has the correct mounting holes before ordering these types of stabilizers.

- Costar stabilizers (Plate-mounted, Not Common)
1) These stabilizers use metal inserts in the keycaps and clips on the plate to hold the wire.
2) They are known for their crisp feel but can be more challenging to install and remove.
3) Compatibility: Requires a plate specifically designed for Costar stabilizers.
PLEASE confirm the stabilizer type and PCB thickness compatibility before purchase to prevent fitting issues and damage. If you purchase stabilizers designed for a 1.6mm PCB and your keyboard has a 1.2mm PCB, you might encounter fitting issues. This can lead to instability or even damage to the PCB.
Understanding Stabilizer Issues
Even with stabilizers, issues can arise:
- Rattling: This is a common problem, often caused by loose wires or insufficient lubrication.
- Ticking: This is a sharp, clicking sound that can occur when the stabilizer wire rubs against the housing.
- Binding: This occurs when the stabilizer wire gets caught or restricted, leading to a sticky or uneven keystroke.
How to Improve Your Stabilizers?
For those looking to customize their keyboards, having ready-made plates from the market can simplify the process significantly. These provide users with a straightforward path to customization without needing to consider all the intricate details.
- Lubrication: Applying a high-quality lubricant to the stabilizer wires and housings can significantly reduce noise and improve smoothness. Dielectric grease is commonly used for the wires, and a thinner lubricant for the housings.
- Clipping: Clipping the small plastic feet on the bottom of the stabilizer stems can reduce ticking.
- Band-Aid Mod: Placing small pieces of adhesive bandage or similar material inside the stabilizer housings can reduce rattle and improve sound.
- Replacing Stabilizers: If your stabilizers are damaged or of poor quality, replacing them with higher-quality options can make a world of difference. Screw in stabilizers are often recommended.
If you’re building or modifying your own mechanical keyboard, paying attention to your stabilizers is essential. Investing time in proper lubrication and modification can elevate your typing experience from good to exceptional.